Volkswagen Tiguan Service and Repair Manual: Roof Trim Panels
Tools
Special tools and workshop equipment required
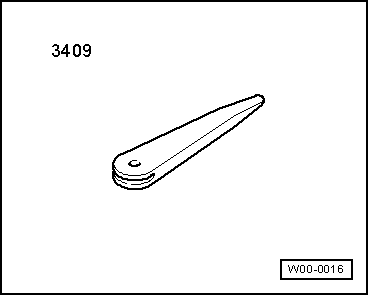
- Trim Removal Wedge -3409-
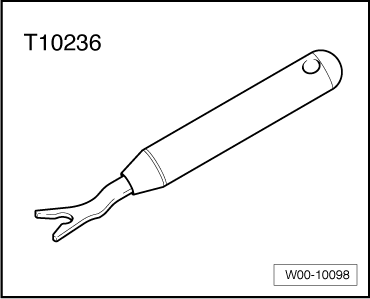
- Window Release Tool -T10236-
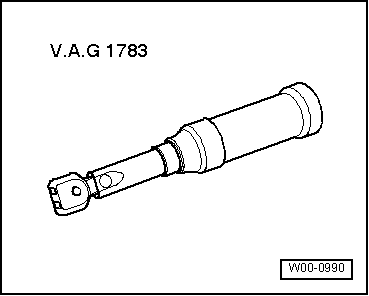
- Torque Wrench 1783 - 2-10Nm -VAG1783-
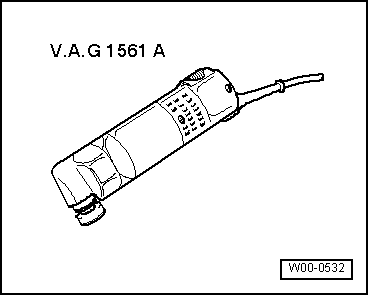
- Window Cutter -VAG1561A-
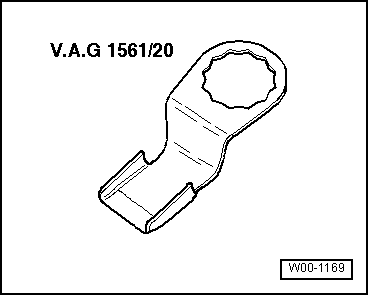
- Scraper Blade - 45mm -VAG1561/20-

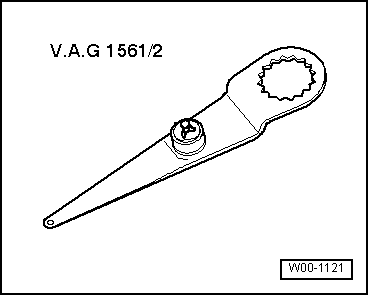
- Window Cutter - Offset Blade (2 pc.) -VAG1561/2-

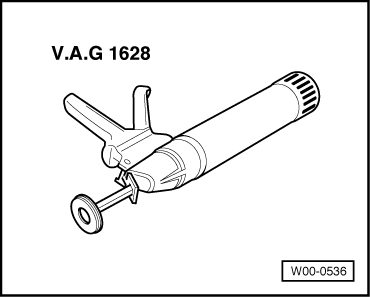
- Cartridge Gun -VAG1628-

Roof End Strip, Removing and Installing
Removing
- Open the rear lid.
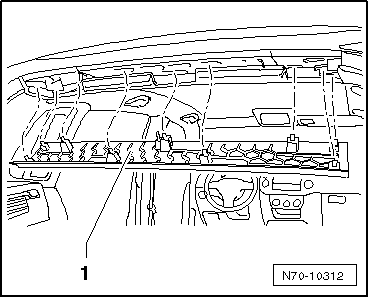
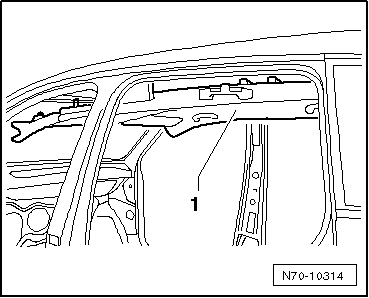
- Remove the roof end strip -1- downward and out of mounts in roof crossmember and rear lid seal molding.
Installing
- Install in reverse order of removal.
Note
Before the assembly check the clips for damage and replace if necessary.
Headliner, Removing and Installing
Removing
- Switch off the ignition.
- Remove the front interior and reading lamps:
- Vehicle without Panorama sunroof.
- Vehicle with Panorama sunroof.
Vehicles with a Roof Console
- Remove the roof console.
Vehicles Equipped with a Screen Separator
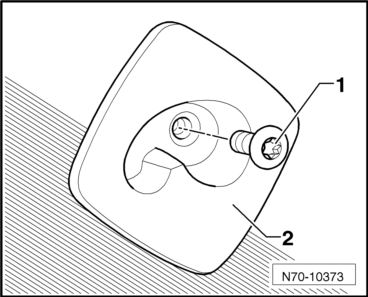
- Remove the bolt -1- (8 Nm) in each of the mounts -2-.
All Vehicles
- Remove roof end strip.
- Remove the A-pillar upper trim panel.
- Remove the B-pillar upper trim.
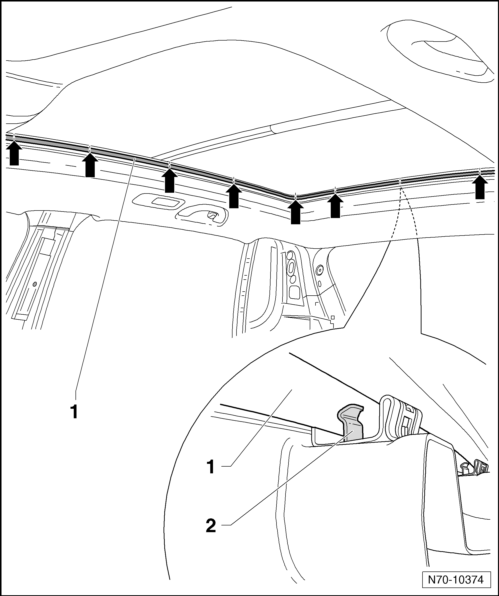
- For vehicles with a Panorama sunroof, remove the surrounding retaining channel -1- from the clips -2- using the Window Release Tool -T10236- and the Trim Removal Wedge -3409-.
Note
The clamping profile is mounted with 23 clamps -arrows-.
- Remove the roof grab handles.
- Remove the sun visors.
- Fold rear seat backrests forward.
- Move the front seats all the way forward and fold the backrests.
Note
It is not necessary to remove the C-pillar trim panels.
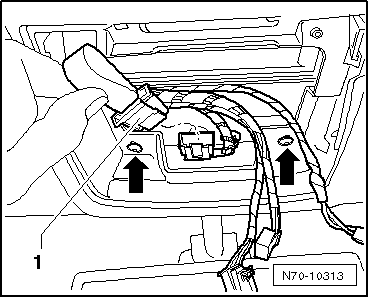
- Disconnect the connector -1- and remove the two bolts -arrows-; on vehicles with a roof console, the bolts are already removed.
- Pull the headliner in the area of the roof console out of the mounts.
The bracket clips remain in the body so that a desired break can occur at the predetermined breaking points.
- Lower the headliner just below the interior rearview mirror and pull it out of the C-pillar trim in the direction of travel.
- With a second technician, remove the headliner -1- and pull it at an angle out of the vehicle through the rear door.
Installing
If a headliner is being replaced, then the new headliner may have to be cut to match the vehicle equipment.
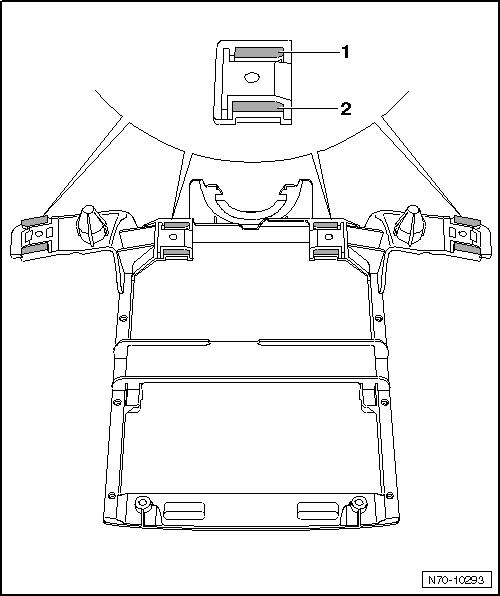
- Remove the remaining clamp mounts -1- and -2- from the console in the headliner in the area of the four threaded holes.
- Install in reverse order of removal.
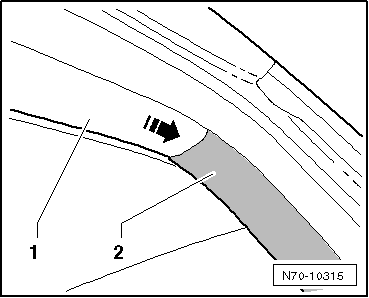
- When installing, slide the headliner -1- opposite direction of travel -arrow-, under the C-pillar trim panel -2-.
Openings for "Vanity Lamp" and "Screen Separator", Cutting in Headliner
If the headliner is being replaced, it may be necessary to cut openings in the new headliner.
- Attach the Window Cutter - Offset Blade (2 pc.) -VAG1561/2- on the Window Cutter -VAG1561A-.
- Use the old part as a template.
- Place the template on the material side of the new part and mark the cutting lines.
- Make the cuts in the material side with the Window Cutter -VAG1561A-.
Note
A commercially available carpet knife can also be used as an alternative to the Window Cutter -VAG1561A-.
- Install the "vanity lamp" and "screen separator" in the new part.
Roof Insulation and Reinforcement, Removing and Installing
Removing
- Switch off the ignition.
- Remove the front interior and reading lamps:
- Vehicle without Panorama sunroof.
- Vehicle with Panorama sunroof.
Vehicles with a Roof Console
- Remove the roof console.
Vehicles Equipped with a Screen Separator
- Remove the bolt -2- (8 Nm) in the respective mounts -1-.

All Vehicles
- Remove roof end strip.
- Remove the A-pillar upper trim panel.
- Remove the B-pillar upper trim.
- Remove the roof grab handles.
- Remove the sun visors.
- Fold rear seat backrests forward.
- Move the front seats all the way forward and fold the backrests.
- Remove the headliner.
Note
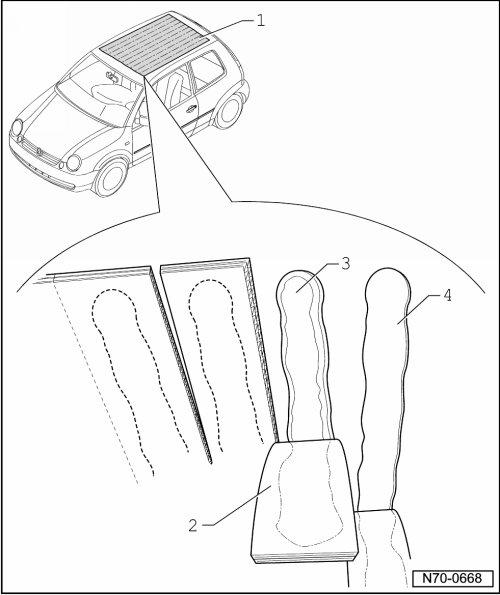
A Lupo is shown as an example in the following illustrations. Removal and installation of insulation/reinforcements is same in Tiguan.
- Cut roof insulation/reinforcements -1- in direction of travel in strips approximately 6 cm wide -2- using a carpet knife.
- Pull off the strips -2- from the roof.
- Cut back the excess adhesive -3- using the Window Cutter -VAG1561 A- and the Scraper Blade - 45mm -VAG1561/20--4-.
Note
If paint structure was damaged while removing roof insulation/reinforcements, paint damage must be repaired in accordance with the specifications.
Installing
Note
Processing instructions of adhesive must be observed when installing roof insulation/reinforcements.
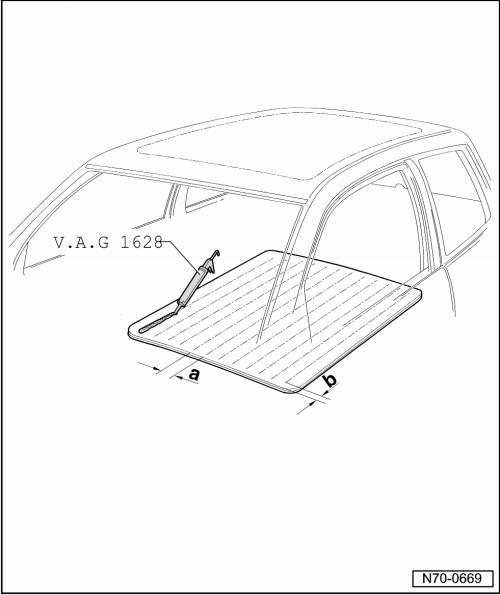
- Apply adhesive D 190 MKD A3 on to insulation/reinforcements using the Cartridge Gun -VAG1628-.
- Apply adhesive in beads on insulation/roof reinforcement.
- Dimension -a- = 58 +- 2 mm
- Dimension -b- = 25 +- 5 mm
- Transport the roof insulation/reinforcements into vehicle through rear lid and press on to roof over the entire surface.
Special Tools
Special tools and workshop equipment required
- Trim removal wedge -3409-

- Torque wrench -VAG1783-

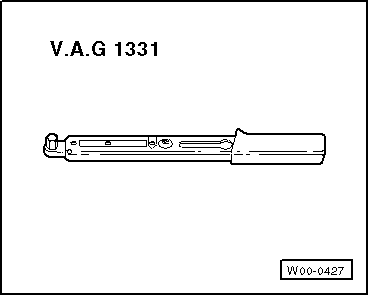
- Torque wrench -VAG1331-
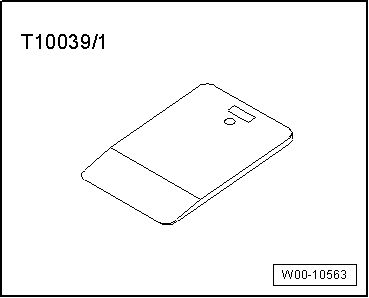
- Wedge -T10039/1-
- Window cutter -VAG1561A-

- Scraper (45 mm) -VAG1561/20-
- Cutting blade (58 mm) -VAG1561/2-
- Cartridge gun -VAG1628-
 Luggage Compartment Trim Panels
Tools
Required Special Tools and Testing Equipment
Window Release Tool -T10236-
Torque Wrench 1783 - 2-10Nm -VAG1783-
Lock Carrier Cover, Removing and Installing
Removing
Remove the luggage ...
 Seat Frames
...
See More:
Volkswagen Tiguan Owners Manual > Parts, accessories, repairs and modifications: CB radio equipment
Read and follow the introductory information and
safety information first⇒Introduction
to the subject An outside antenna is required for the operation of radio equipment
in the vehicle.
Volkswagen approves the operation of radio equipment in the vehicle under the
following conditions:
...
Volkswagen Tiguan Owners Manual
Volkswagen Tiguan Service and Repair Manual
- Body exterior
- Body Interior
- General Paint Information
- Paint
- Brake System
- Suspension, Wheels, Steering
- Wheel and Tire Guide
- Towing Guide
- Wheel and Tire Guide General Information
- Communication
- Electrical Equipment General Information
- Electrical Equipment from 06/2011
- Heating, Ventilation and Air Conditioning
- Refrigerant R134a Servicing
- 6-Speed Manual Transmission 02Q, OBB, and OFB
