Volkswagen Tiguan Service and Repair Manual: Heated Oxygen Sensor, Replacing
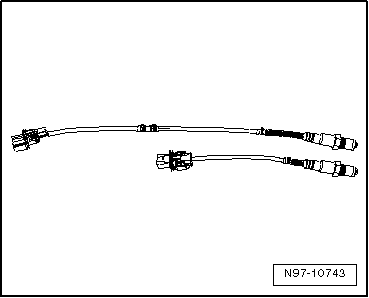
4-Pin Heated Oxygen Sensor (HO2S), Removing and Installing
Note
- Do not repair the heated oxygen sensor wires. Repairing may result in malfunctions.
- Use the faulty sensor as a guide for installing all of the accompanying attachments, cable ties or marking bands.
- If necessary, identify the heated oxygen sensor (HO2S) using the protective tube.
- Remove the faulty oxygen sensor.
- Lay both of the oxygen sensor next to each other so the sensor housings are the same level.

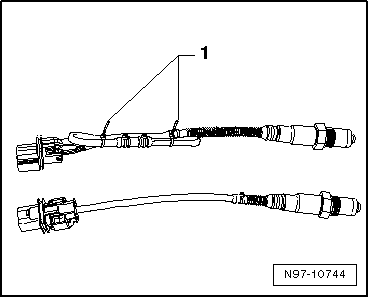
- Tie the excess length of the sensor (approximately 50 to 250 mm) back so it is the same length as the faulty sensor and secure it with cable ties -1-.
- Check if the oxygen sensor connector housing is compatible with the vehicle electrical system side.
- If necessary, replace the vehicle electrical system connector with the provided oxygen sensor connector housing.

Note
- Only replace the connector housing on older vehicles. The connector housing is correct on new vehicles.
- Check the pin assignment. The pins in the new connector housing are color coded.
- The packaging for the new heated oxygen sensor contains additional information.
Install the new oxygen sensor in the vehicle.
6-Pin Universal Oxygen Sensor, Removing and Installing
Note
- Use the faulty sensor as a guide for installing all of the accompanying attachments, cable ties or marking bands.
- Do not crimp or cut the wires otherwise the functionality of the heated oxygen sensor (HO2S) will be diminished.
- Remove the old heated oxygen sensor (HO2S).
- Lay both of the oxygen sensor next to each other so the sensor housings are the same level.
- Tie the excess length of the sensor (approximately 50 to 250 mm) back so it is the same length as the faulty sensor and secure it with cable ties -1-.
- Install the new oxygen sensor in the vehicle.
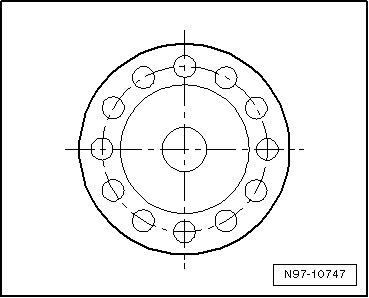
Oxygen Sensor Unit Protective Pipes
Note
In addition to using the part number, the protective pipe can also be used for identification.
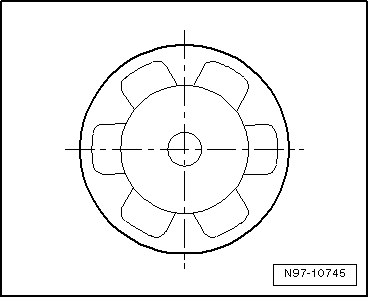
Version D1, 6 openings, 3.5 mm each
Only used with the 4-pin oxygen sensor
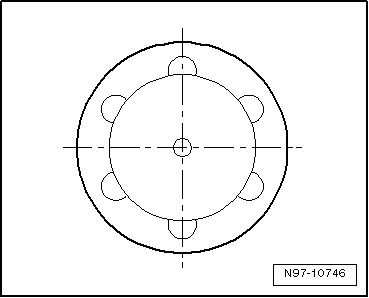
Version D2, 6 openings, 2 mm each
Used with 4-pin and 6-pin universal oxygen sensors.
Version D4, 12 openings, 1.4 mm each
Used with 4-pin and 6-pin universal oxygen sensors.
Special Tools
Special tools and workshop equipment required
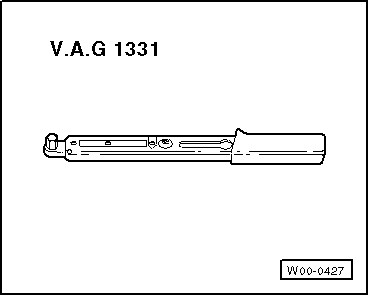
- Torque Wrench 1331 5-50Nm -VAG1331-
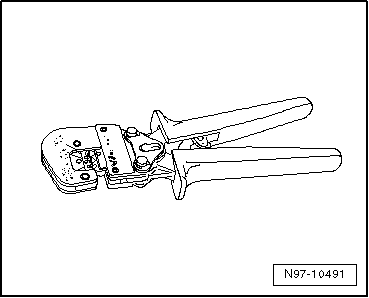
- Crimping Pliers, Complete -VAS1978/1A-
- Exchangeable Head, 0.35mm² - 2.5mm² -VAS1978/1-1-
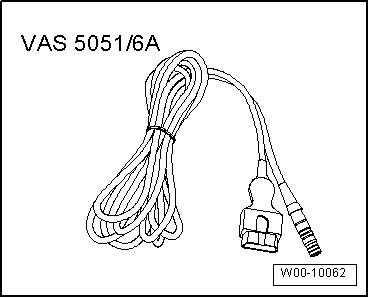
- Diagnostic Cable -VAS5051/5A- (3 m) (10 ft.)
- Diagnostic Cable -VAS5051/6A- (5 m) (16 ft.)
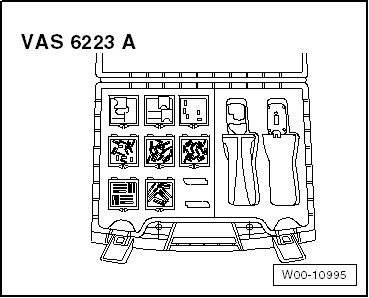
- Fiber Optic Pliers Repair Set -VAS6223A-
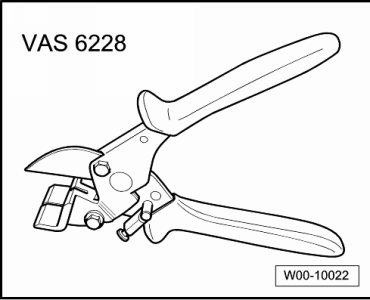
- Air Hose Pliers -VAS6228-
- Repair Set, Aerial Cable -VAS6720-
Edition: K0059101321 - FU - 5/8/2014 - JLH
 Contact Surface Cleaning Set -VAS6410-
Contact Surface Cleaning Set -VAS6410-, Using
Wiring Eyelets, Repairing
Special tools and workshop equipment required
Torque Wrench 1331 5-50Nm -VAG1331-
Note
Do not use rust remover, contact spr ...

See More:
Volkswagen Tiguan Owners Manual > In an emergency: Checklist
For your own safety and that of your passengers, carry out the following
steps in the order listed ⇒ :
Park the vehicle at safe distance from
traffic and on a suitable surface .
Switch on emergency flashers by pressing
the switch .
Apply the electronic parking brake to
...
Volkswagen Tiguan Owners Manual
Volkswagen Tiguan Service and Repair Manual
- Body exterior
- Body Interior
- General Paint Information
- Paint
- Brake System
- Suspension, Wheels, Steering
- Wheel and Tire Guide
- Towing Guide
- Wheel and Tire Guide General Information
- Communication
- Electrical Equipment General Information
- Electrical Equipment from 06/2011
- Heating, Ventilation and Air Conditioning
- Refrigerant R134a Servicing
- 6-Speed Manual Transmission 02Q, OBB, and OFB
